

Here’s a basic form in SwiftUI that includes text fields, toggles, and pickers to collect user input. This example will help you understand form elements and data binding in SwiftUI:
import SwiftUI
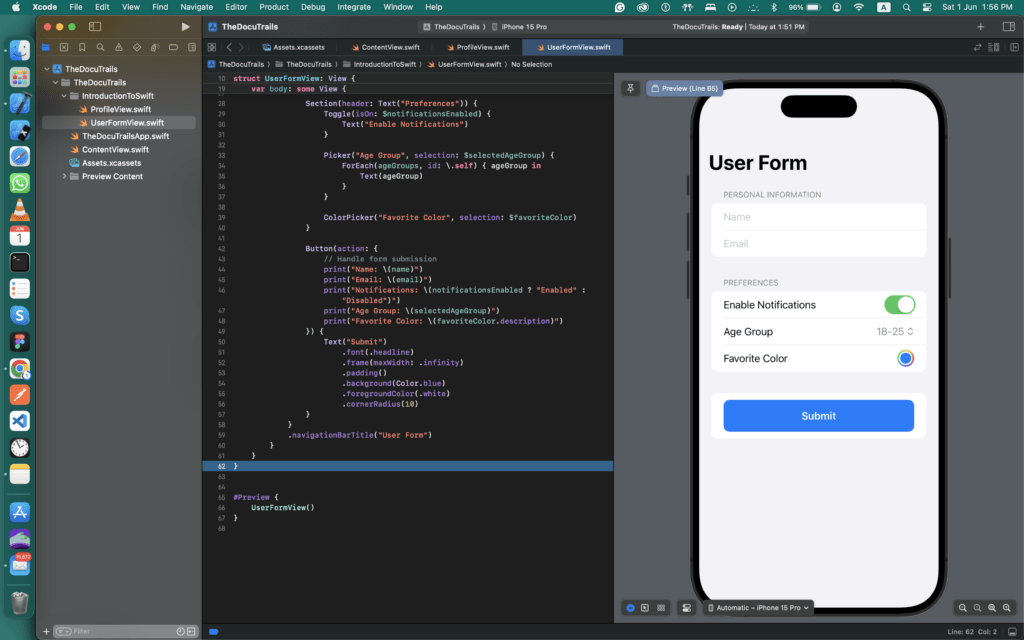
struct UserFormView: View {
@State private var name: String = ""
@State private var email: String = ""
@State private var notificationsEnabled: Bool = true
@State private var selectedAgeGroup: String = "18-25"
@State private var favoriteColor: Color = .blue
let ageGroups = ["18-25", "26-35", "36-45", "46-60", "60+"]
var body: some View {
NavigationView {
Form {
Section(header: Text("Personal Information")) {
TextField("Name", text: $name)
TextField("Email", text: $email)
.keyboardType(.emailAddress)
}
Section(header: Text("Preferences")) {
Toggle(isOn: $notificationsEnabled) {
Text("Enable Notifications")
}
Picker("Age Group", selection: $selectedAgeGroup) {
ForEach(ageGroups, id: \.self) { ageGroup in
Text(ageGroup)
}
}
ColorPicker("Favorite Color", selection: $favoriteColor)
}
Button(action: {
// Handle form submission
print("Name: \(name)")
print("Email: \(email)")
print("Notifications: \(notificationsEnabled ? "Enabled" : "Disabled")")
print("Age Group: \(selectedAgeGroup)")
print("Favorite Color: \(favoriteColor.description)")
}) {
Text("Submit")
.font(.headline)
.frame(maxWidth: .infinity)
.padding()
.background(Color.blue)
.foregroundColor(.white)
.cornerRadius(10)
}
}
.navigationBarTitle("User Form")
}
}
}
import SwiftUI
@main
struct UserFormApp: App {
var body: some Scene {
WindowGroup {
UserFormView()
}
}
}Explanation:
- State Variables:
@State private var name: String = "": Holds the user’s name.@State private var email: String = "": Holds the user’s email.@State private var notificationsEnabled: Bool = true: Holds the state of the toggle switch for enabling notifications.@State private var selectedAgeGroup: String = "18-25": Holds the selected age group.@State private var favoriteColor: Color = .blue: Holds the selected favorite color.
- Form Elements:
TextField("Name", text: $name): Creates a text field for entering the name, with data binding to thenamestate variable.TextField("Email", text: $email).keyboardType(.emailAddress): Creates a text field for entering the email, set to use the email keyboard type, and bound to theemailstate variable.Toggle(isOn: $notificationsEnabled): Creates a toggle switch bound to thenotificationsEnabledstate variable.Picker("Age Group", selection: $selectedAgeGroup): Creates a picker for selecting the age group, bound to theselectedAgeGroupstate variable.ColorPicker("Favorite Color", selection: $favoriteColor): Creates a color picker bound to thefavoriteColorstate variable.Button(action: { ... }): Creates a button that prints the form data to the console when pressed.
- NavigationView and Form:
- The form is wrapped in a
NavigationViewto provide a navigation bar and proper form presentation. - Sections with headers are used to organize the form elements into logical groups.
- The form is wrapped in a
- Form Submission:
- The button’s action closure contains the code to handle form submission. In this example, it prints the collected form data to the console.
How to Use:
- Copy the code into a new SwiftUI project in Xcode.
- Run the project on a simulator or device to see the form in action.
- Fill out the form and press the “Submit” button to see the form data printed in the console.